If you are a photographer, one of the challenging moments you are likely to face is taking shots at night. If you are already experiencing, this article was created with you in mind. At the end of this article, you will learn the best night time photography settings.
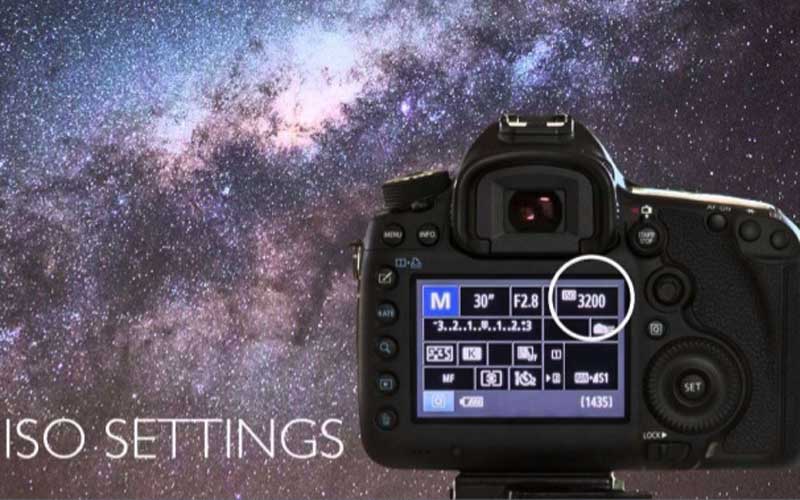
So, sit back and relax, while we walk you through this all-important subject. But before we dive deeper, what is your night photography niche?
In the photography world, night photography spans across different niches and the best settings for night photography largely depends on the type of image you plan to capture. The different niches are street photography, astrophotography, and blue hour cityscapes.
Be sure to read this article till the end as we will cover all niches.
Quick Navigation & Previews
Night photography for beginners
If you are a beginner in the photography space, you are likely to make mistakes when taking shots at night. The camera settings might be confusing to you; hence the need to pay attention to the following guide on night photography for beginners:
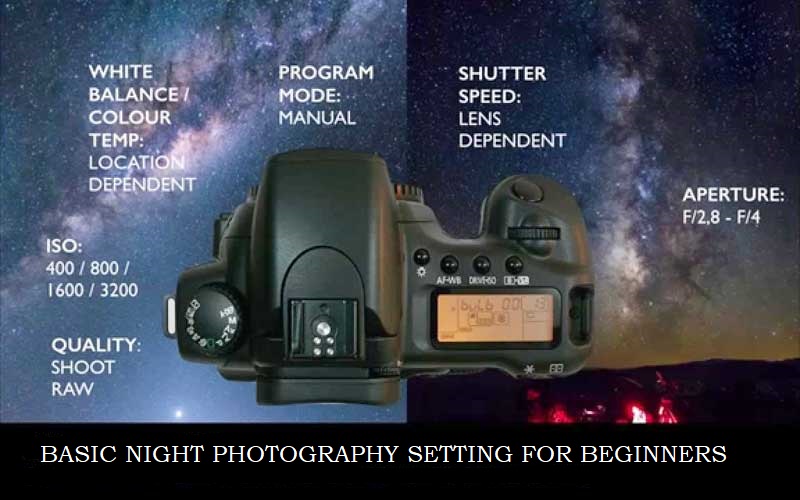
- Step #1: Set the camera to manual mode: Using manual mode to take shots at night is very convenient and easy than other modes.
- Step #2: Use a tripod as support: Generally, it takes about ten seconds for a camera to capture a night image. For the most part, the shutter speed won’t exceed 10 seconds. Holding the camera with your hands might produce blur images. Therefore, you need a tripod to hold the camera still for at least 10 seconds.
- Step #3: Keep your aperture low: Ensure your aperture is kept very low, though; this is dependent on your lens. You can set the aperture to f/5.6, f/3.5 or f/2.8. As a beginner you might not know how to change your camera’s aperture, you can check on YouTube to stay updated. As you gain experience, you can then begin to manipulate your aperture to suit your night photography adventure.
- Step #4: Keep the shutter speed at 10 seconds: Depending on the light condition where you plan to shoot, you might need to vary your shutter speed up or down, but 10 seconds should be perfect for a beginner.
- Step #5: Set the ISO to 1600: When you increase your camera’s ISO, it will increase the brightness of your target image but will add some noise. Modern cameras on the market can take clear and nice images at ISO of 1600.
- Step #6: Take the shot and analyze the exposure: Once you’ve done all of the settings above, you can then take the shot. You will observe that it will take a long time for your camera to record the image and for you to playback the image on your LCD screen. This is normal. If the photo is too dark, this means you have to increase the shutter speed to about 30 seconds and then re-take the photo. If the picture is still too dark, you might have to raise the ISO to about 3200. On the other hand, if the shot is too bright, you might want to reduce the ISO to 800. Keep reducing the ISO until you get your desired image.
Night street photography settings
When shooting street photos at night, you need to take into consideration the atmosphere of the environment you plan to shot, plus, available light sources. For equipment, we strongly suggest using prime lenses. Then for camera settings, ensure your shutter speed is fast enough to capture sharp images while keeping the aperture wide open. Also, the ISO should be moderate and not too high. With these settings, you will get a clear image of your target.
Night sky photography settings
The constellations and the bright stars at night can be a captivating moment for you to take your shots. The following camera settings should be in place if you plan to take star-centric photos with or without landscape:
- The aperture should be set to f/5.6
- 15 seconds shutter speed should be perfect
- 100-400 ISO should be okay for a start. We suggest you start at 100 and then keep increasing it until you get your desired result with minimal noise.
Your camera’s shutter speed is very important when it comes to sky shots; this is because the earth is constantly moving.
Photographing Stars
There are two ways to photograph moving stars in the sky. Firstly, you need to leverage ultra-long exposure to enable you to capture moving stars. Secondly, when you stack many photos at once, there is a high chance of capturing moving stars in the sky.
- Ultra-long exposure: If you wish to capture moving stars with just one photo, you might need to expose for about 20 to 30 minutes. However, you will likely face the problem of controlling the bright lights. Using a small aperture might work, but you stand the risk of damaging your sensor. Stacking many photos together is a better alternative.
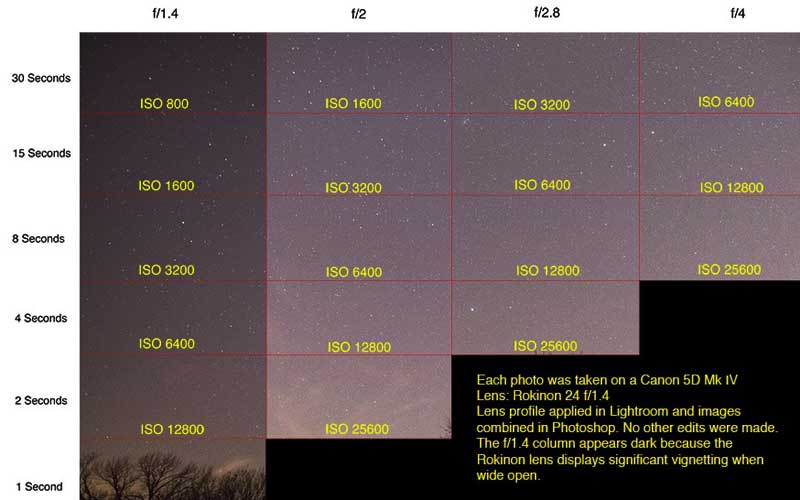
- Stacking Photos: This is a better option if you want to take moving stars. The exposure required is about 30 seconds. As for the camera settings, keep the aperture large and the ISO high, and then take the shot. After taking the shots, merge them. One good software to get this done quickly is StarStaX.
Capturing the Moon
If you ask any experienced photographer, he/she is likely to tell you that capturing the moon is challenging. Before photographing the moon, you have to decide whether you’d be capturing the moon only or you would include landscape elements. You also have to include whether you’d be capturing a lunar eclipse. With that in mind, the following are the night photography settings for each of the scenarios:
Capturing Only The Moon
- Shutter Speed: Ensure you set your shutter speed as slow as possible (at best 1/25th second) because the moon is moving very fast. Use a tripod so that the camera would not shake. But, turn off the image stabilization features when it’s on a tripod
- Aperture: As a starting point, use a smaller aperture, say f8. F8 is the sharpest for most cameras you see on the market.
- ISO: With the right aperture and shutter speed in place, adjust the ISO so that the moon can be visible. Remember, a higher ISO gives a more bring a brighter image, but with more noise. We suggest you adjust the ISO settings to 1600. If you have a dark image, increase the ISO settings to 3200. If the image is too bright, reduce the ISO settings to 800.
Moon With Landscape Elements
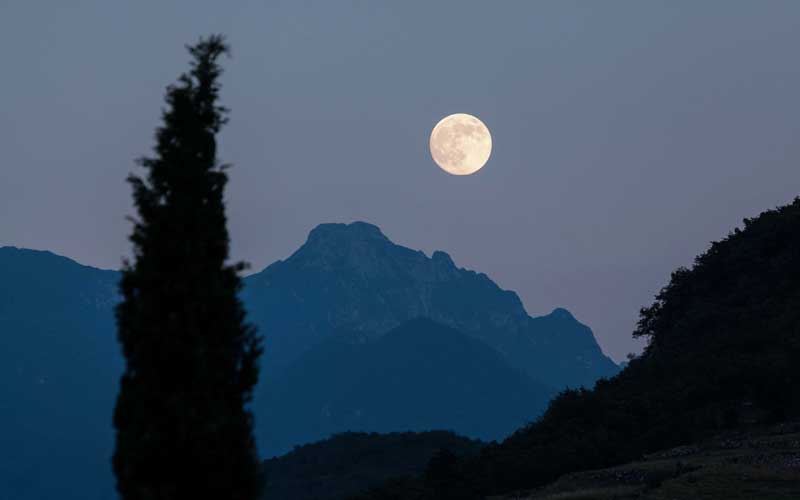
- Capturing the moon with Landscape elements require a lot of preparations and planning. Ensure to keep the aperture at f8.
- Control the light: The blue hour is one of the best times to capture the moon. This is because the moon’s brightness cannot overpower the photo. The perfect time to take a photograph is when the moon is on the horizon.
Capturing The Lunar Eclipse
A lunar eclipse appears once in a while. If you are interested in photographing the lunar eclipse, keep the settings as follows since you’d snapping a darker object:
- Aperture: You need a large aperture lens, say f2.8. You can increase the aperture to as high as f4.
- Shutter Speed: Set the shutter speed to 1/125th second. If you are struggling with the image, increase the ISO and aperture to give you a clearer image.
- ISO: Most cameras have a maximum ISO which will be too noisy if you set it at that range. We suggest you keep the ISO at 4000 at least.
Check top 10 best lenses for moon photography
Camera settings for night photography without flash
Taking night time shots without flash can be very interesting since you would be taking advantage of available lights.
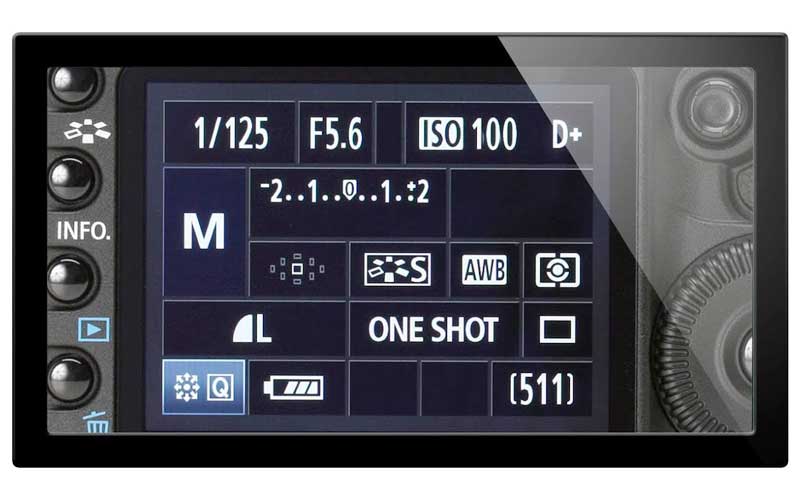
Camera Settings
- You would need a faster lens to enable you to leverage the available lights.
- Use a tripod so that your camera won’t shake while snapping.
- Aperture: Set your aperture to be as wide as possible. If the image is dark, you can vary the aperture to suit your needs.
- ISO: Set your ISO to as high as possible. If the ISO setting is too high, it would affect the image quality and clarity and would generate more noise. Varying the shutter speed can reduce the noise. For the most part, set your ISO to 1600.
- Shutter speed: Ensure your shutter speed is kept as slow as possible.
Night portrait photography settings
The following are the night portrait photography settings:
- Focus on the street light
- Set your ISO and aperture within 400_800.
- The shutter speed should be kept below 1/200th.
Night photography tips and tricks
These tips and tricks below will enable you to become a professional photographer:
- Use a sturdy tripod
- Use manual mode while snapping
- Keep your ISO as low as possible
- Shoot raw
- Take test shots
- When shooting static objects, use aperture priority mode
- Vary your shutter speed in different conditions
- Play with bulb mode
Final Thought
There you have it! You are now armed with the best night time photography settings. Go out there and get the best of your photography experience.
What is your best night time photography? Share your thoughts with us using the comment box below.
Leave a Reply